WooCommerce makes it really easy to add products to your store. You can add your first product with a template, manually, import via CSV, or import from another service.
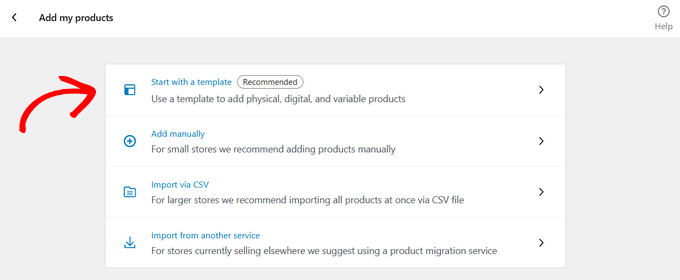
For this tutorial, we’ll show you how to add a product with a template.
Next, you can select a template for a physical product, digital product, or variable product.
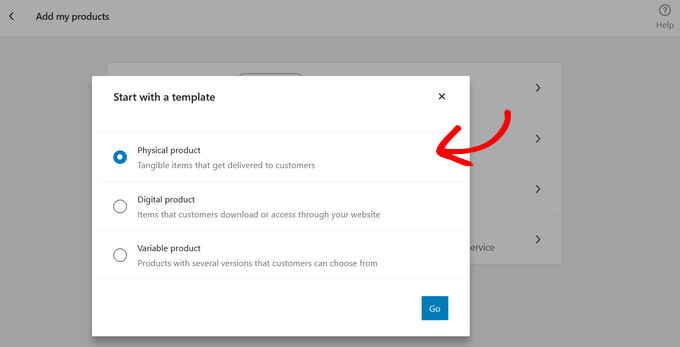
Once you click the ‘Go’ button, you’ll be taken to the product editor. Alternatively, you can add new products by going to the Products » Add New page from your WordPress menu.
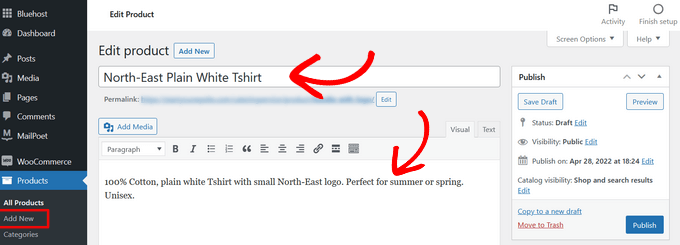
First, you need to provide a title for your product and then a detailed description.
After that, click on the ‘Add new category’ link in the right column. You can create a new category for the product you are adding.
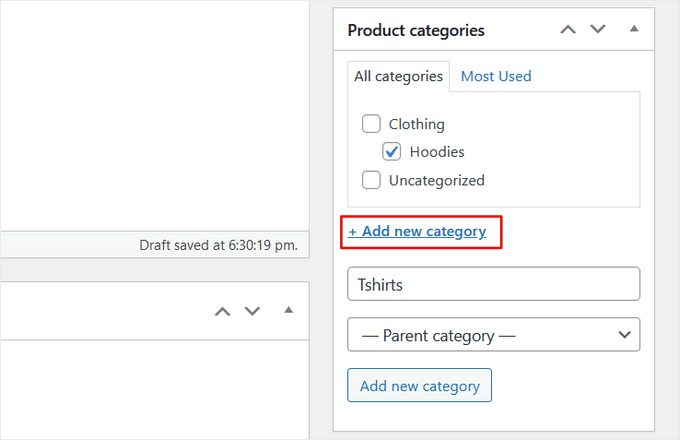
Product categories allow your customers to easily browse products on your website.
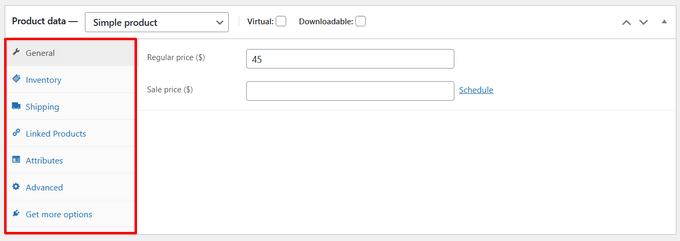
After that, you need to scroll down a little to the ‘Product Data’ box. This is where you will select the product type, add product pricing, shipping costs, grouped products, and other information.
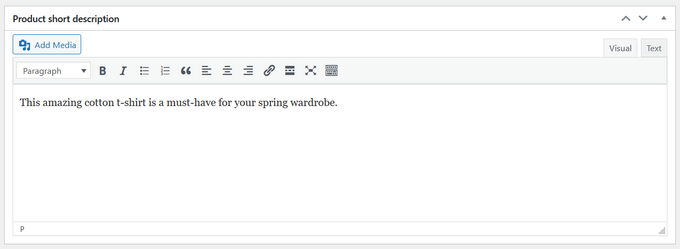
Next, you will see a product short description box. This description will be used on different product pages on your website. You need to add a catchy and informative short description that helps you get more clicks.
Nothing makes a product page more useful than product images. WooCommerce makes it super simple to add product images and even product image galleries to go along with each product.
First, you need to add the main product image. This will be the main product image that’s used on the shop pages across your store.
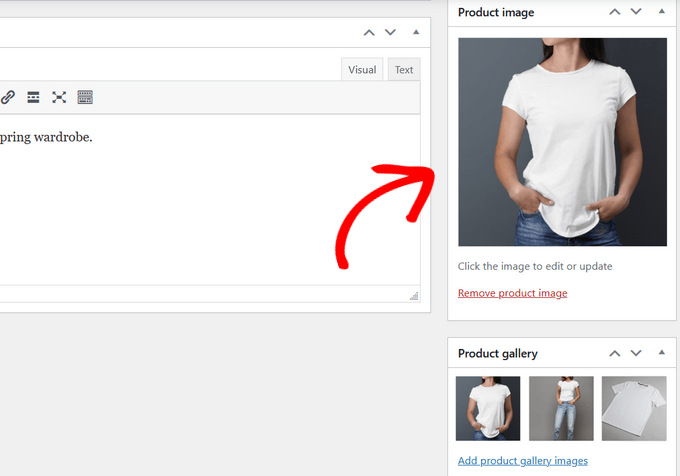
Below that you can add multiple images to create a product image gallery.
Now review all the product information that you have added so far. If everything looks alright, then you are ready to make this product live on your store.
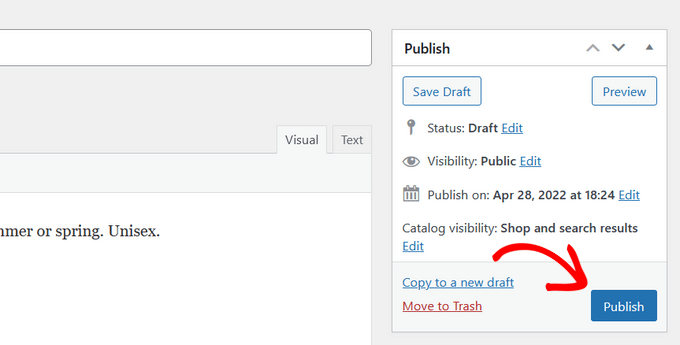
Click on the ‘Publish’ button at the top right box on the screen to publish your product.
You can now repeat the process to add more products to your website.


